
Routes
On the Neutrinos Platform routes enable navigation from one page to another as a user performs various tasks using the application.
Understanding Routes
For every app, two routes are configured. One is for the default route for the landing page and another route to handle the unregistered route.
In addition to this, when you create an app using a template, there are additional routes available as preconfigured routes, based on the template that you have selected.
You can also create and configure nested routes, that is, a child route within a route, which can be used to have a one-page view within another page.
|
|
Note that you need to create pages before you start configuring routes. |
Creating and configuring Routes
To create and configure a route, click the Route icon.
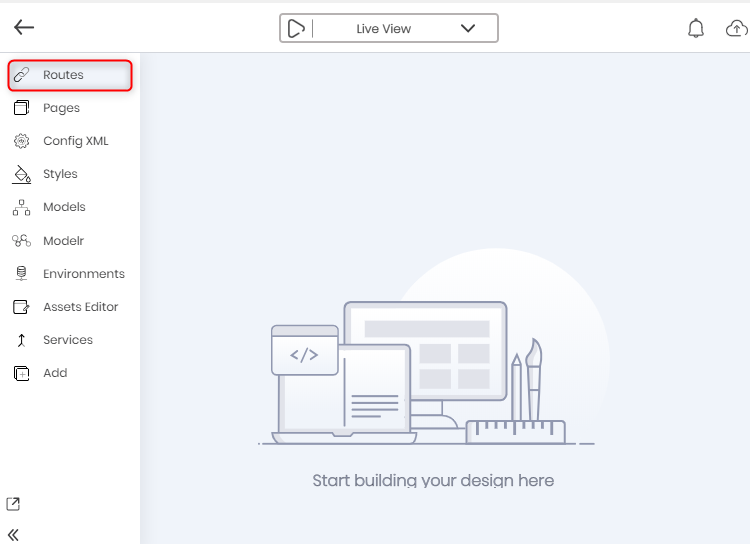
When you create a route, you need to define Path and select a Page. To create a child route to the home route, click the arrow icon next to the home router
Routes for LMS
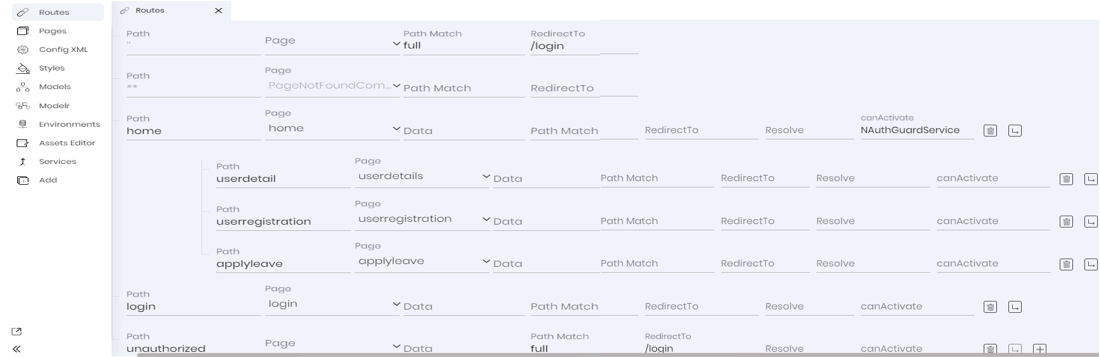
Use the following table to configure routes for the Leave Management System app:
|
|
The routes mentioned in the table, other than the home route, are child routes for the home route. |
| Path | Page | Data | Path Match | Redirect To | Resolve | canActivate |
|---|---|---|---|---|---|---|
| home | home | {data:homeresolverService} | NAuth GuardService | |||
| userdetails | userdetails | |||||
| userregistration | userregistration | |||||
| applyleaves | applyleaves |
|
|
Route resolver option resolves data via API or other sources before loading a route. In our case, we are resolving User metadata before loading the home route. |
|
|
Route canActivate option uses the input Service's canActivate method's return value (generally a boolean) to load the requested route. In our case, it acts as a Guard the protects the route by only allowing logged in user to use home or its child routes |
App Styles
Neutrinos Platformsupports CSS and Sass styling.
All the styles created in the styles editor will be available throughout LMS application and can be applied to each of the page component's class property in the property section.
Using Style Editors
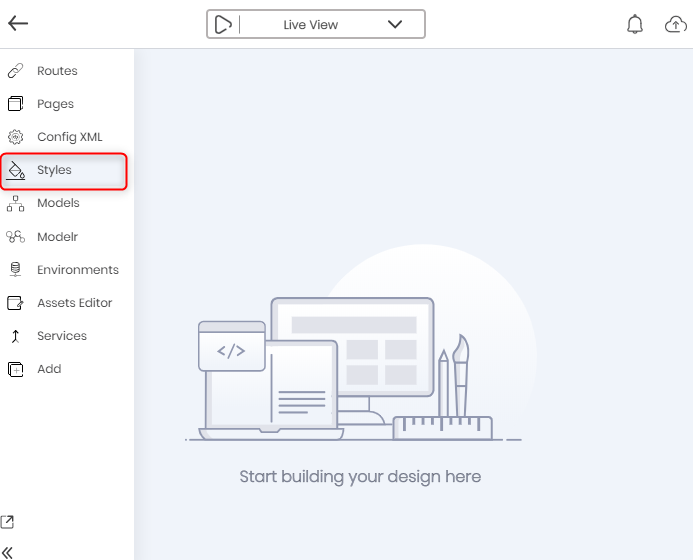
To add styling, click on Styles icon on the left menu bar of the app editor.
Styling LMS
CSS |
/*Importing default angular material css theme. */ |