After you are done creating the app, you initialize the app and set up a live preview.
To set up a live preview on your local machine, perform the following steps:
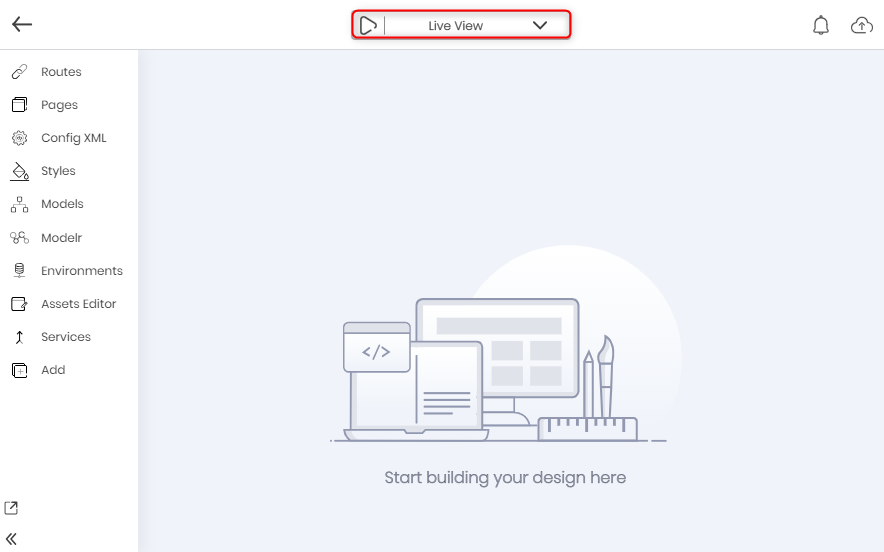
1. In the Application page, on the top-center, a drop-down list of tasks can be found. Click the down arrow.
2. Select Initialize task from the list. Initializing determines certain aspects of how the system or program should function.
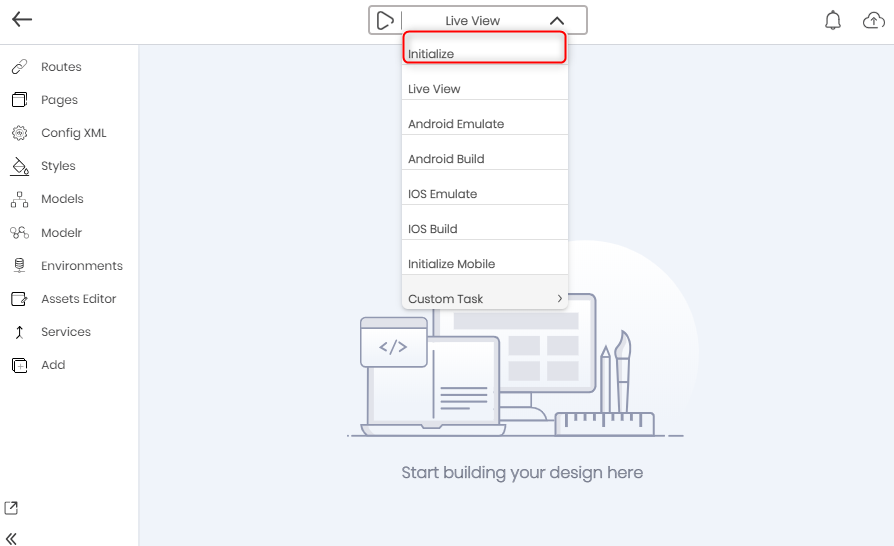
 | Hovering over each of the tasks in the task list reveals a brief description of that task. |
3. Click on the Run Task button. The app gets initialized.
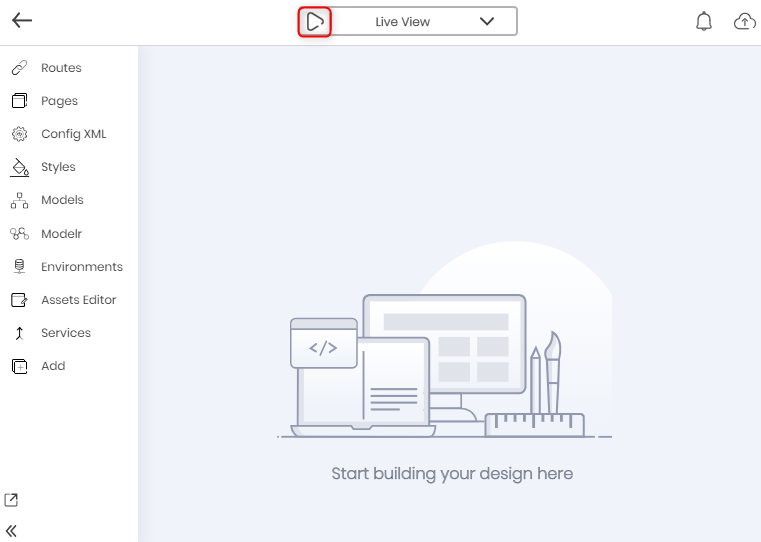
 | Make sure that you are connected to the internet to run the Initialize task successfully. |
4. After the Initialize task is complete, select the Live View task from the list.
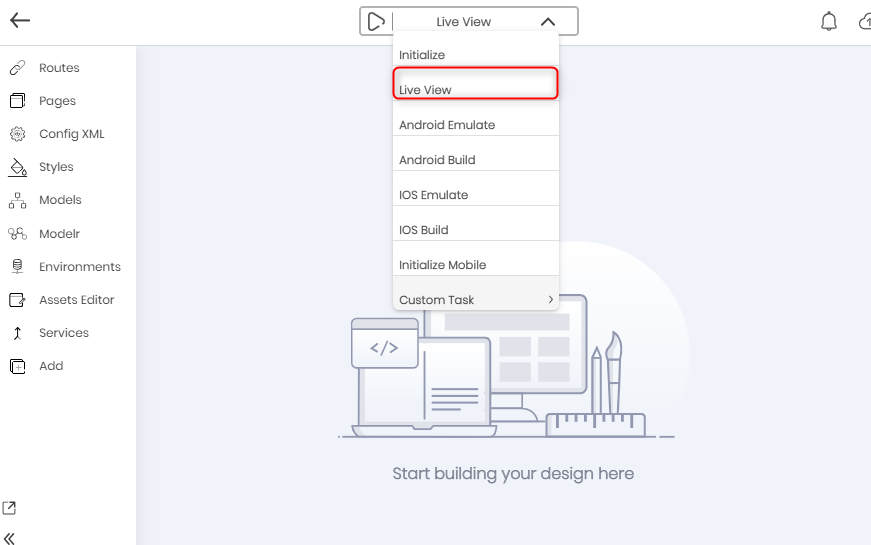
5. Click on the Run Task button.
This task builds your app on the local machine. You can access the build log from the Terminal window.
If the Live View task completes successfully, it will start the app server and your app will be launched in the default browser. You can see the app running at the address localhost and port number 4200.
Any new changes saved in the studio will restart the app server and hence those changes will get reflected immediately in the app.
Once the app is launched, enter a city name for which you want to view the weather data. For example, in Tokyo. The app should display the weather data similar to this:
